All you natural mama’s out there: have you ever been in a store and had your 3 year old hanging off your arm begging you to buy her those glitter bedazzled, chemical smell reeking jewel colored fairy wings?
3 year old: Mama, pleazzze, I nee-eed it.
Me: But, Baby, they are made of chemicals and plastic.
3 year old: Well what about this one? [as she pulls yet another pair of wings off the shelf]
Me: Honey, I promise I will make you some.
3 year old: Right now?


And then you go home and try to make wings. Because heaven help you, you refuse to buy that chemical garbage. There might be bromines on the netting, phthalates in the plastics, formaldehyde in the adhesives, and lead in the glitter. See this study concerning the high levels of toxic chemicals found in children’s costumes these days.

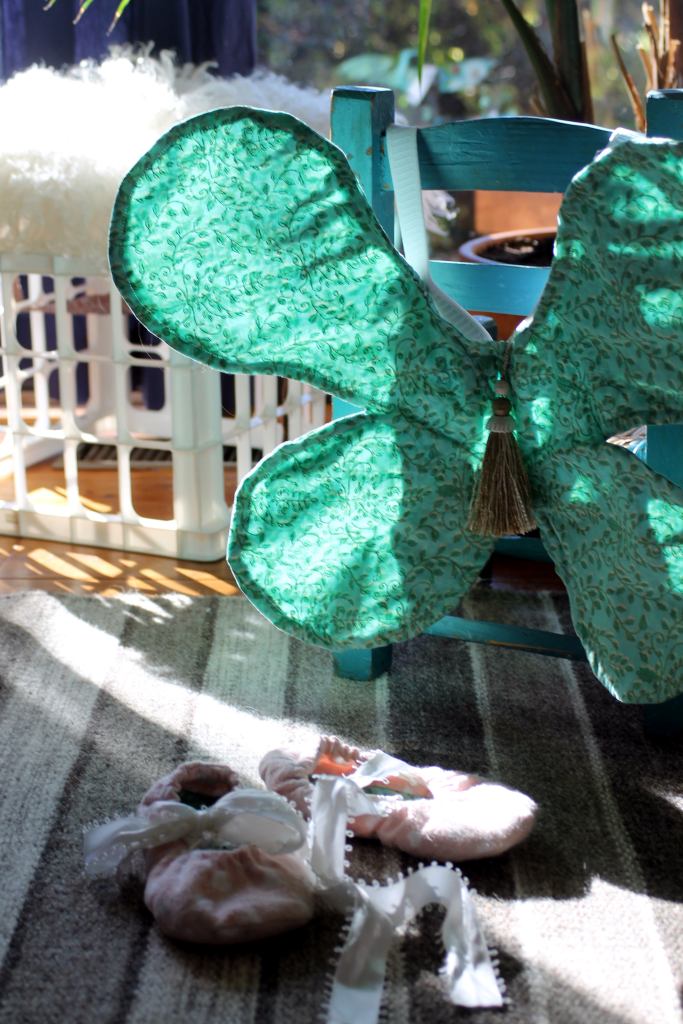
Thankfully making fairy wings at home is very easy and doesn’t require many supplies: some cotton fabric, thread for sewing, some wire, and some elastic.
- First, make a pattern out of paper. You can see mine above. The black lines represent the sewing guidelines for the top stitching.
- Place the pattern on the folded fabric, with the straight edge of the pattern on the fabric fold. Cut 2.
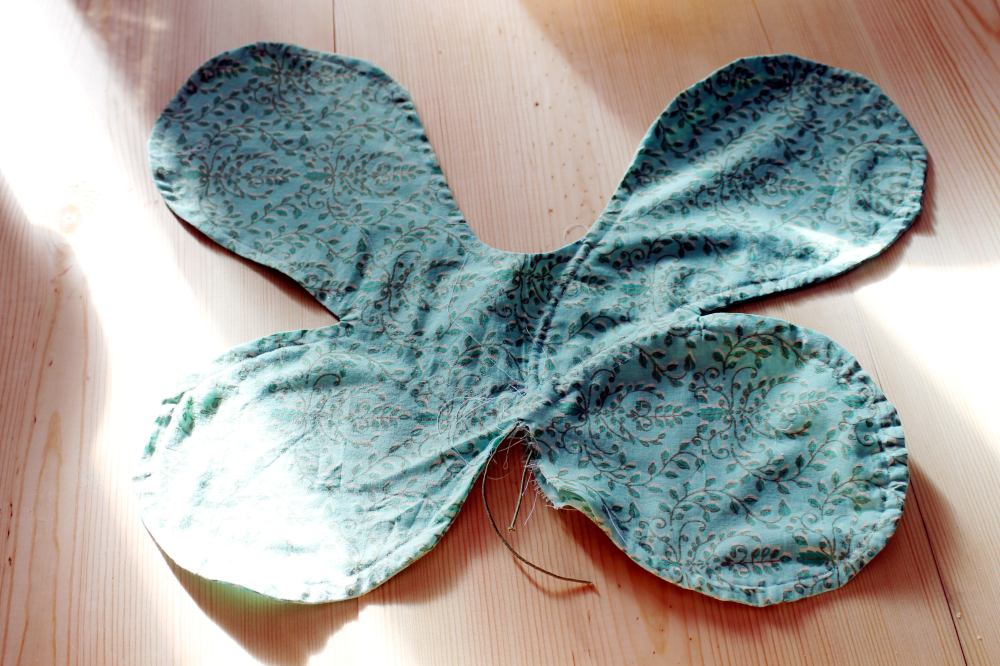
- With right sides together, sew the two wings (front and back pieces) together. Make sure to leave an opening at the base of the wings (see pictures) for turning and feeding the wire.
- Now turn the wings right side out through the hole. Press with a hot iron to crease the seams.
- Topstitch the wings following the black topstitching guide lines. This creates pockets to feed the wire through, making the wings stand upright and hold their shape.
- Cut one piece of wire – one that is long enough to thread through the left top+bottom wing and the right top + bottom wings. Wrap tape around the wire end to make it easy to slide through the wire pockets. Feed the wire through the guides, crossing where necessary to circle each of the four wings. I went up the center left to circle the top left wing counter clockwise, and then down the center left to circle the bottom left wing clockwise, then up the right top wing going counter clockwise, and then around the bottom right wing going counter clockwise.
- Carefully overlap the beginning and ends of the wire so that they lay inside the wings. Wrap the ends and overlapping sections with tape so they are joined securely and so that no wire will poke through the material.
- Carefully whip stitch the opening closed.
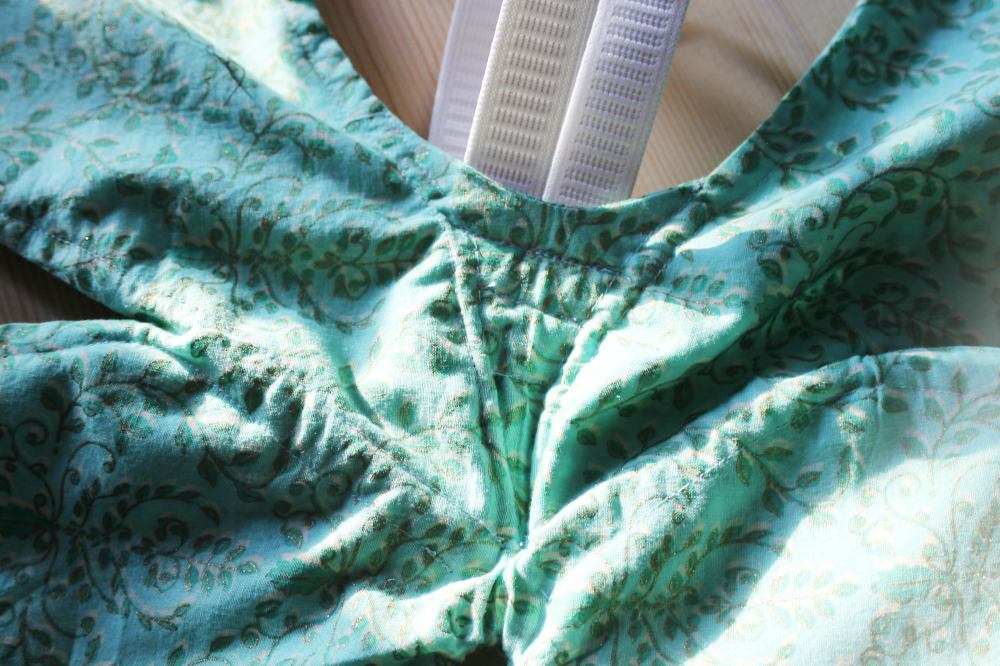
- Using elastic and safety pins, add two loops to the back of the wings. Don’t cut the elastic or sew it until you’ve tried them on your child.
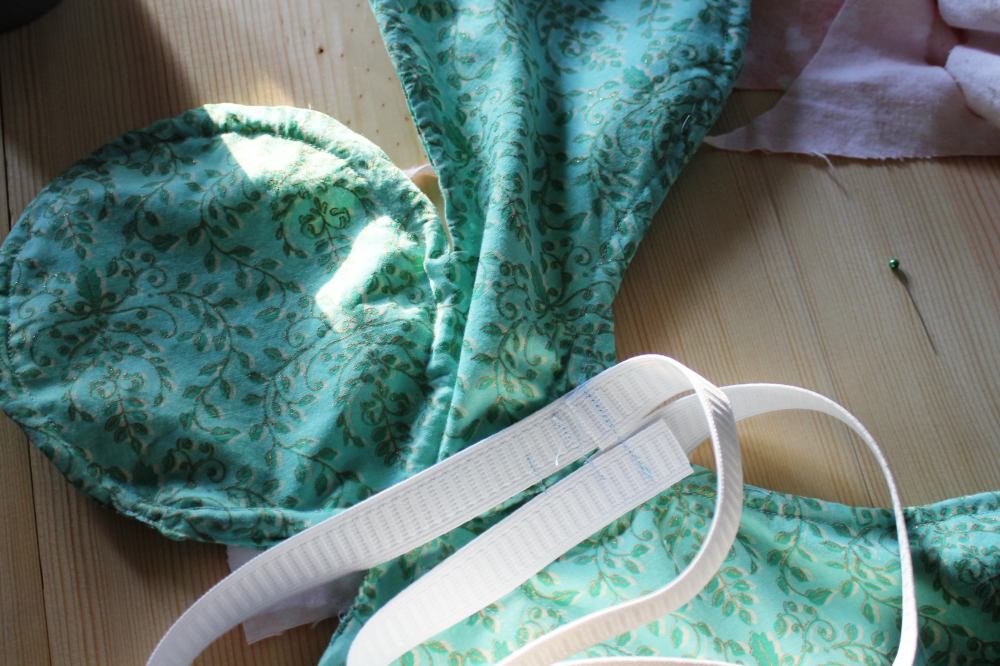
- Try out the wings and adjust the safety pins as necessary to get a perfect fit.
- Trim the elastic and sew it down to the wings securely.
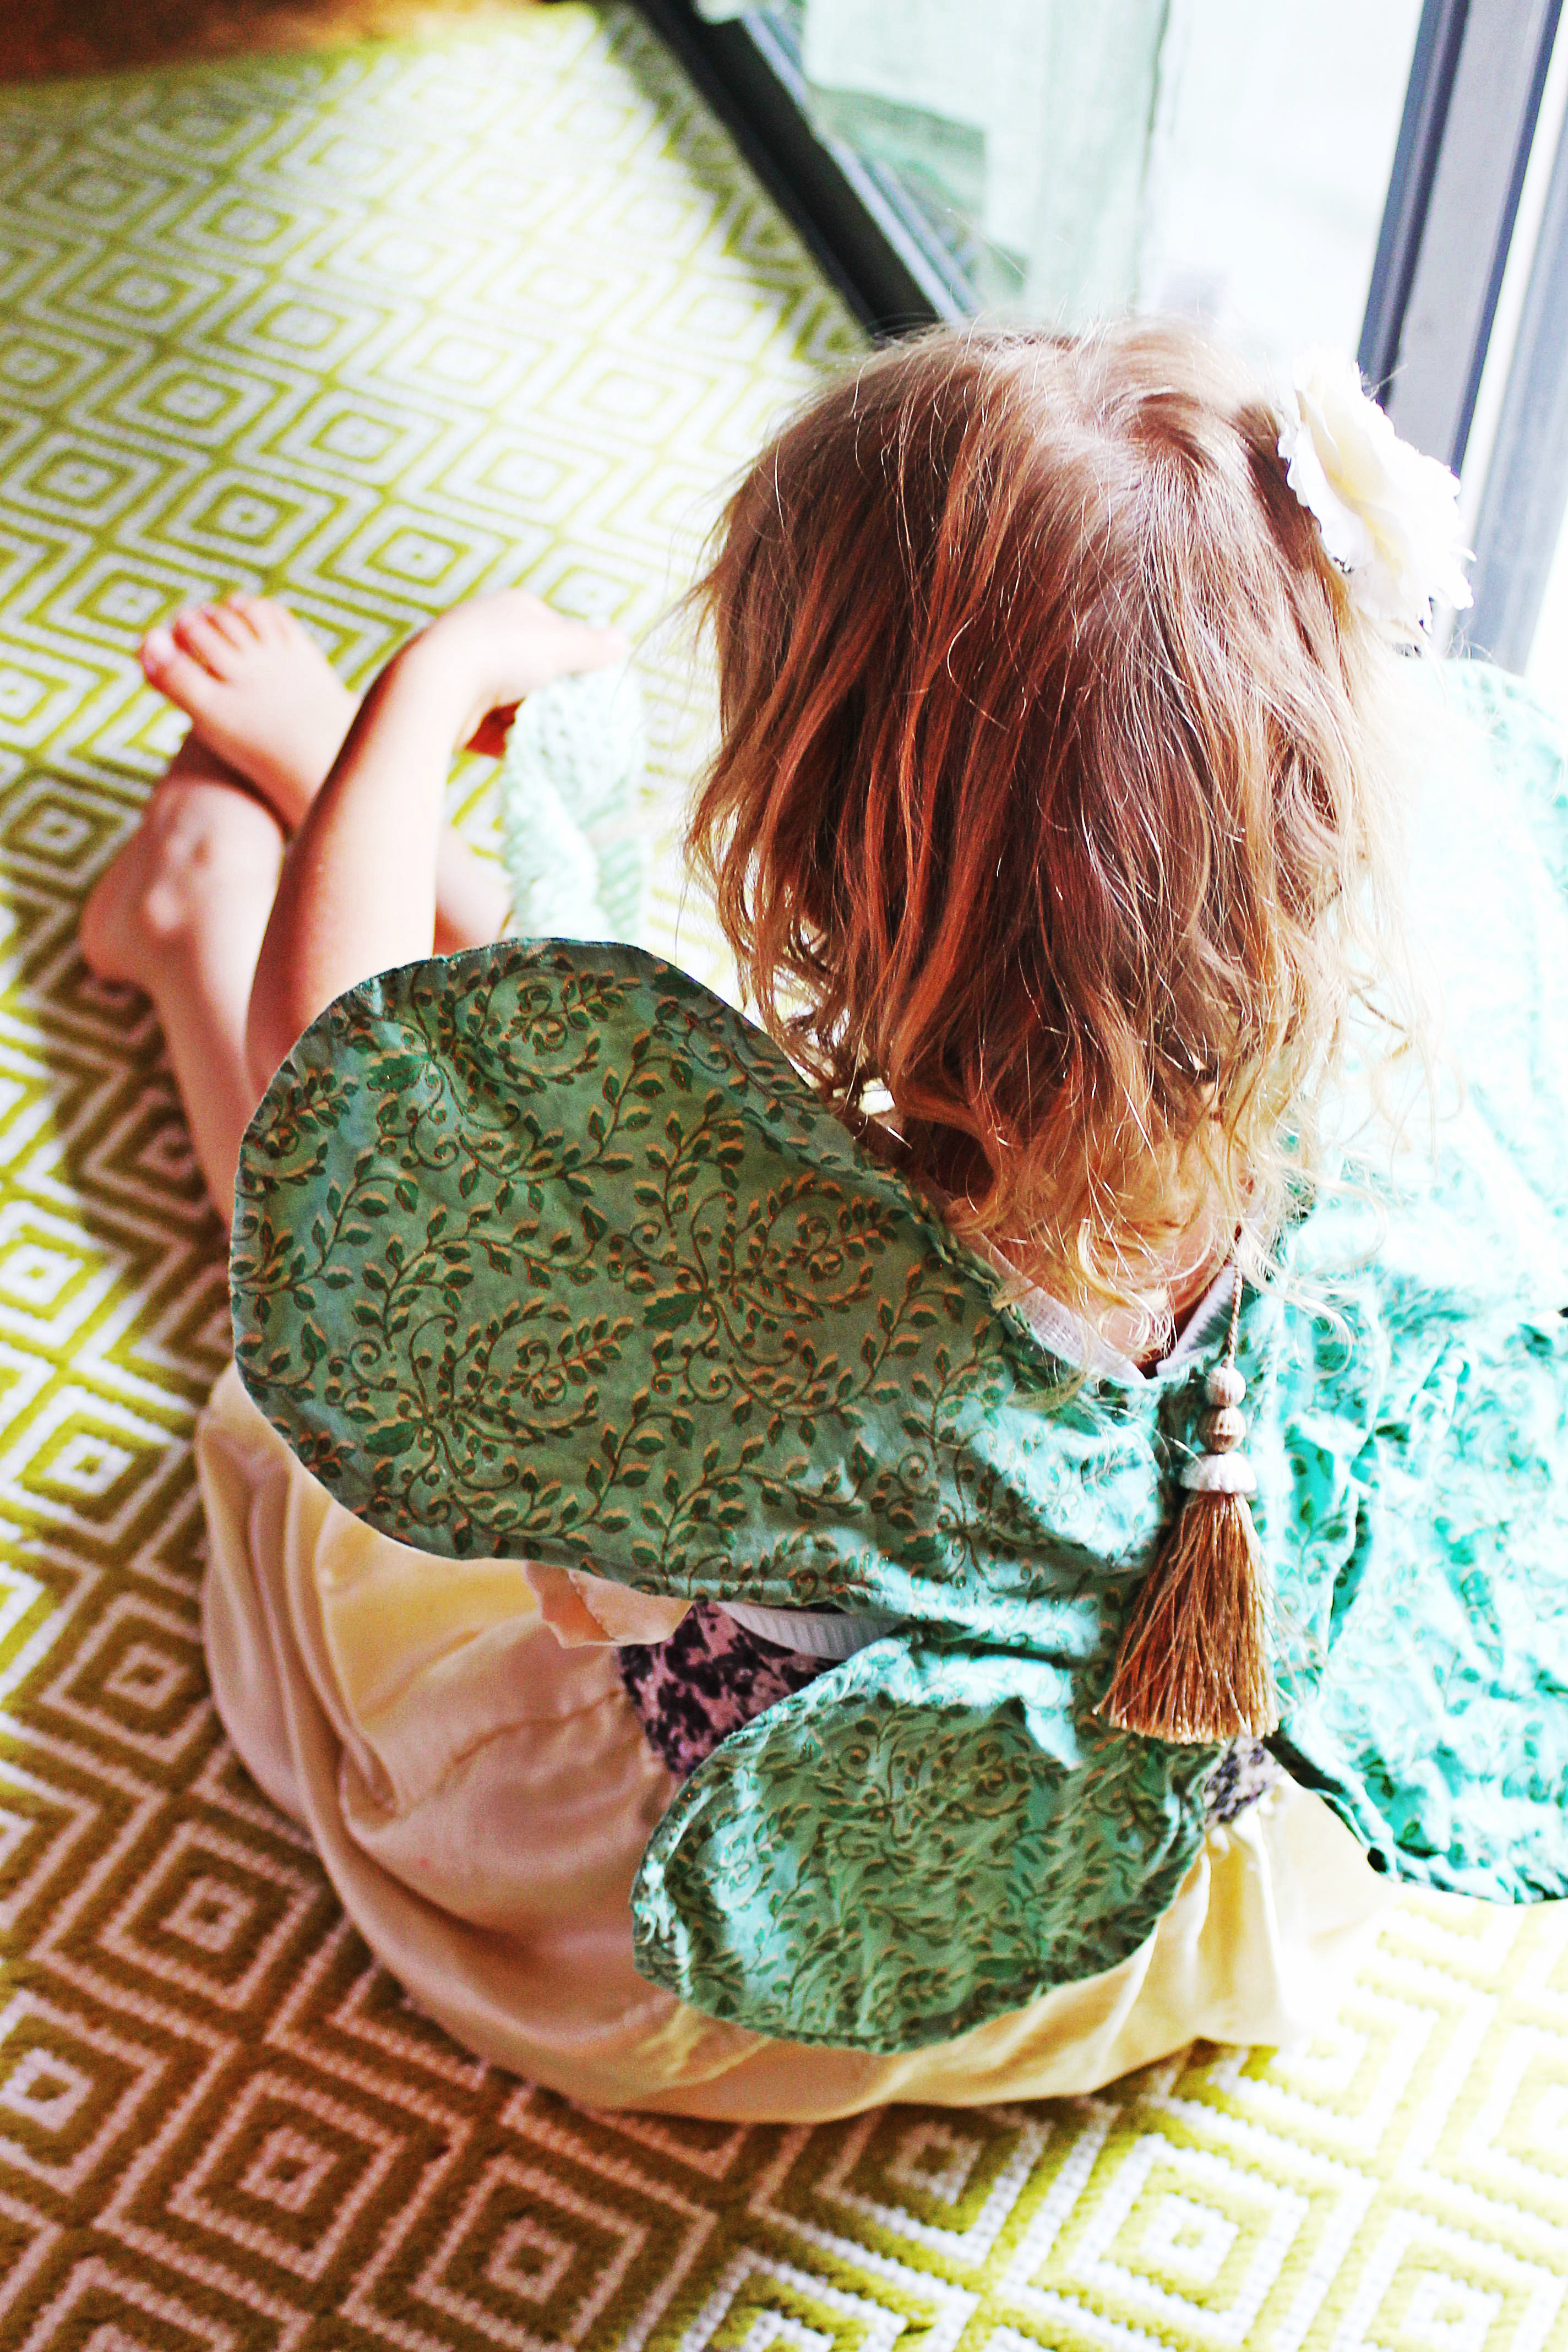
- Now add cool tassels, buttons or wooden beads to make it unique!